ZFS focus on Ubuntu 20.04 LTS: ZSys sate management
After our previous general presentation of ZSys, it’s “”“time”“” to deep dive to one of its main predominant feature: state management!
Why calling that state and not simply ZFS snapshots?
A little technical detour first. as this question will necessarily arise, especially from those familiar with ZFS concepts.
What is a state, and what’s the difference with snapshots?
We have purposively chosen the “state” terminology to prevent system administrators and in general, all those familiar with ZFS to confuse if with snapshot datasets.
Basically a state is a set of datasets, all frozen in time (apart from the current state), which regrouped together forms a system “state” that you can chose to reboot on.
Those group of datasets can be either made of snapshot datasets (read only) (which is what most of advanced ZFS users will expect), but it can also be filesystem datasets (read write), made of filesystem datasets clone of the current state datasets. You can boot to any of those.
Why not only relying on snapshots?
This choice was made to go beyond what a simple zfs rollback can do. The limitation of rollbacking is that the current filesystem itself is reverted (remember, it’s read write while snapshots themselves are read only), and any intermediate snapshot datasets are destroyed. So, current and all intermediate states wouldn’t have been able to recover after a revert. We wanted to avoid being blocked by those limitations and this is why navigating between ZSys states includes using ZFS cloning (creating filesystem datasets (read write) from all snapshot datasets (read only) compounding a particular state). Consequently, we navigate between those ZFS filesystem datasets. We promote any correctly booted reverted state to migrate snapshots over it.
Creating this non destructive revert action allows crazy dreams: you can imagine reverting a revert! And this also unlock system bisection to find when a regression started!
Another consideration to take into account is that we separate system states from user states. System states have matching user states (one for each available user on the system). However, we can have finer grain user states (this is where most of your interesting work is done, afterwards!), while system states are limited to have reliable boot and working machine.
In addition to this, we have properties associated to each system state (via user dataset properties). This goes from simply storing mountpoint properties when the state save was requested, even if you changed it afterwards on the parent dataset. As we stored this as user properties, we are able to then reapply original base filesystem dataset properties, to ensure better fidelity. Similarly, we will reboot with the exact same kernel you booted with when you saved the state, even if this wasn’t the latest available version and if it’s been purged from the current state.
This is for all those reasons that we deliberately used the term “state” instead of snapshots. A state can be based on a collection (and not only a single one) dataset snapshot with the same name. However, not all states are (after a revert for instance). We hope this sheds some lights to advanced ZFS users on those particular decisions, and what ZSys provides on top of ZFS awesome core capabilities.
Reverting to a previous system state
And here the meat of the matter! Managing states can be fun, but when managing is only done in the purpose of managing, there is no real point! Let’s exercise the whole goal of this state concept now: reverting!
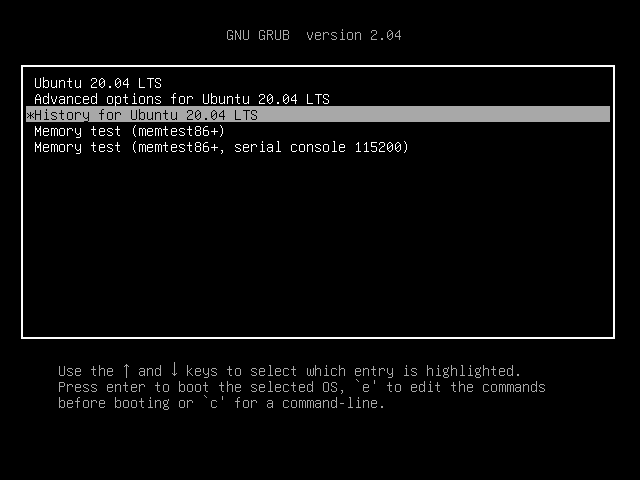
Our grub bootloader (available via [Escape] or [Shift] press on boot) will allow you to revert the system (and optionally user) states on demand! An history entry will propose you to boot on an older state of your system.
Entering it will propose you the different system states you can revert to:
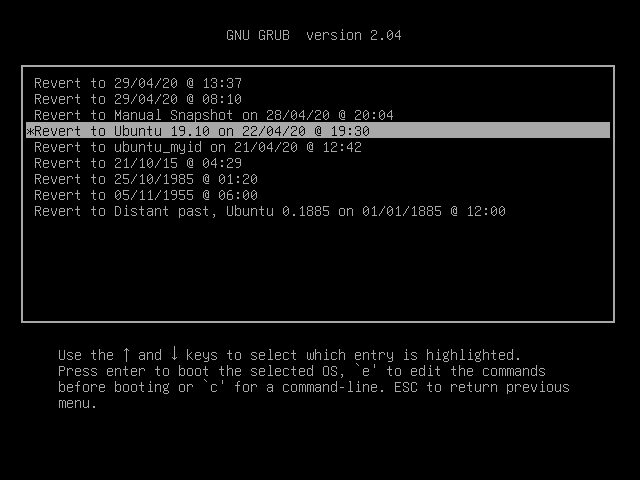
You can see there multiple times and also naming! What are those?
- Automated system state saves (see below on when we take automated system snapshots) only have their creation time used (for instance Revert to 29/04/20 @ 13:37). Their name is indeed meaningless.
- We display the user selected name on manual system state save, like Revert to Manual Snapshot on …
- If previous state save had a different release than the current one (and everytime the release is different from the state listed above, we are listing the release name), we display it as well: Revert to Ubuntu 19.10 on …
- If a manual clone is used as state save, we are using its state basename to indicate that: Revert to ubuntu_myid on …
- And of course, we can have a mix of the all of this, with names and different releases like in the fictive Revert to Distant past, Ubuntu 0.1885 on …
Once you select to which state you can revert to, you have multiple options offered to you:
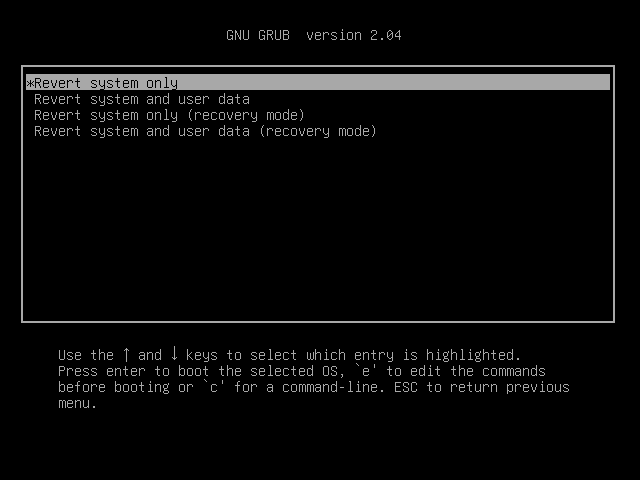
Reverting the system will, as we explained previously, revert (if it’s a ZSys state save) with the exact metadata on every datasets constituting the state. In addition to this, we will boot with the exact same kernel that was last successfully booted with.
You can only revert the system dataset, in that case, only the whole system is reverted, but not non persistent datasets (we have none by default on the desktop, but we will detail that in a later post) and the user data are kept as current. It means though that you are taking the risk of reverting to older version of some softwares not being forward-compatible with your user data (previous version of software A not being able to read newer format of data). It means though that your user data content will be the very last available data you created. A technical note: if you select that option on filesystem dataset associated states (basically no snapshot), then user data will be considered as “current”.
The user state will be considered then as shared between 2 system states, which has some implications in case of removal as you will see below.
The second main option “Revert system and user data” is to revert the whole system, including user data. It means that the home directory of all users on the system will be reverted to the time this system state was last saved. You will still have ways to access manually the newly created content (see just below), but the default will ensure that you have a very robust and compatible user data with the system softwares that are running.
Finally, there are the recovery option which are similar to the ubuntu “Advanced options” for recovery mode for each of this state.
And as we illustrated previously, this work out of the box, including reverting to previous ubuntu release with a high fidelity, and all this without loosing newer states (as not being a destructive action)!
Having access to previous user states
We have plan for future cycles to integrate this more deeply with the system (login manager, file manager…). For now, outside of reverting the whole system to a previous state (alongside users), there are other ways to access to previous revision of files.
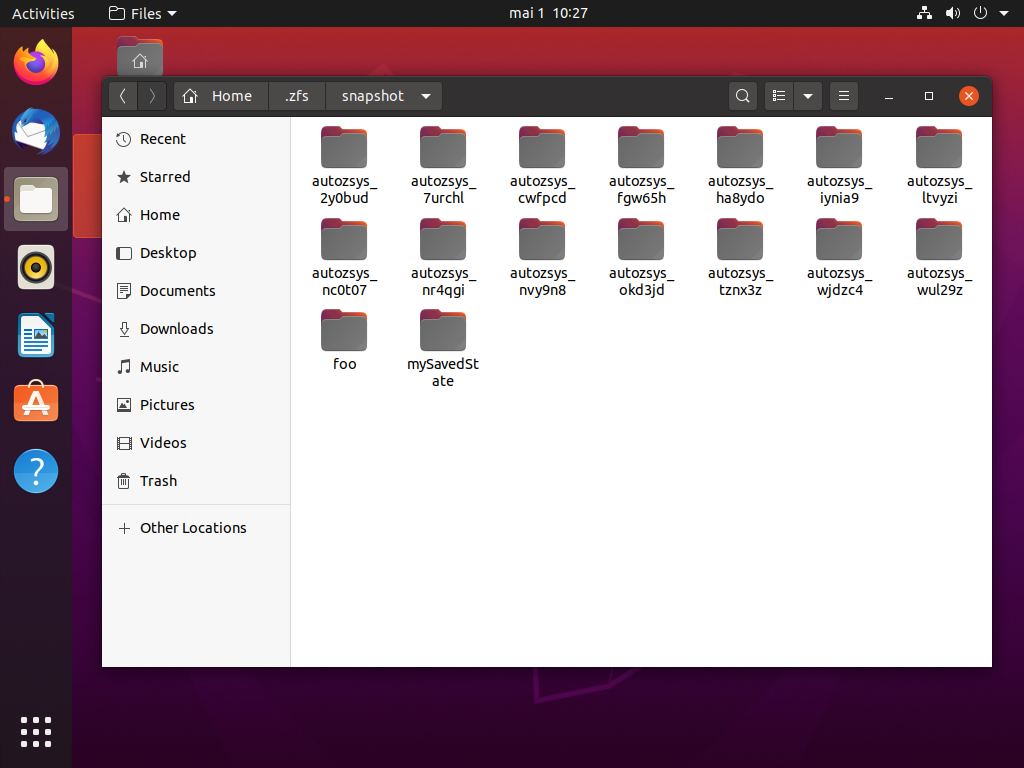
In your datasets mountpoint, you can navigate to the .zfs hidden directory (which is really hidden: even showing all hidden directories won’t display it or ls -a either).
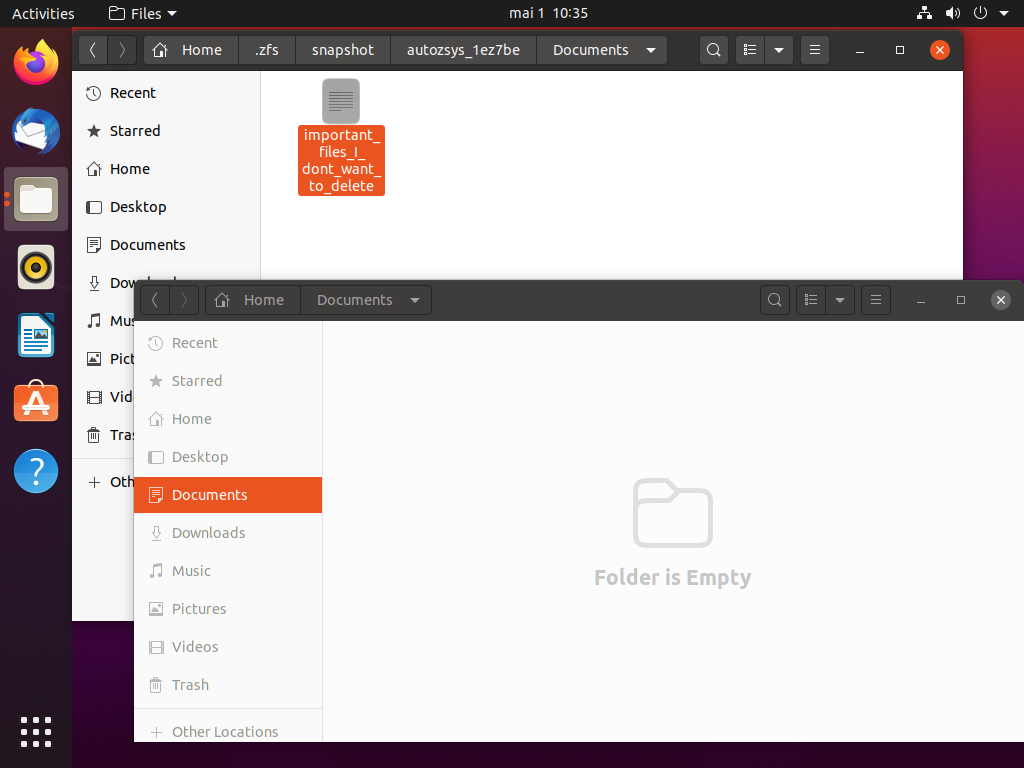
Typically, you can press “[Ctrl]+l” in Files, and append /.zfs to it. You will see a snapshots directory available to you, with one folder for each snapshots.
You can then navigate and restore any file by copying/pasting here (those directories are read only).
Note that you can only find here history user states that are made of snapshot datasets which migrated on current state with this method. Having access to filesystem-based states or snapshots on those filesystem-based states involve manually mounting the datasets and navigating there. This is why we have plans to make all that easier in the future, when you can navigate based on time. :)
Boot success and failure
You will tell us that pressing [Escape] or [Shift] on boot to show up grub isn’t the most discoverable feature and you are right.
However, in case of boot failing, the next boot will show up grub by default and you will have those “History entries” available to you! We define successful boot by systemd having reached the default.target target. On desktop, default.target is a symlink to graphical.target:
$ systemctl status default.target
● graphical.target - Graphical Interface
     Loaded: loaded (/lib/systemd/system/graphical.target; static; vendor preset
     Active: active since Thu 2020-04-30 08:39:17 CEST; 9h ago
       Docs: man:systemd.special(7)

avril 30 08:39:17 casanier systemd[1]: Reached target Graphical Interface.
This is how we set LastUsed timestamp, record which kernel was used and optionally rebuild the bootloader menu if needed (basically, if you reverted and current state is different):
$ systemctl status zsys-commit.service
● zsys-commit.service - Mark current ZSYS boot as successful
     Loaded: loaded (/lib/systemd/system/zsys-commit.service; enabled; vendor preset: enabled)
     Active: active (exited) since Thu 2020-04-30 08:39:23 CEST; 9h ago
    Process: 3249 ExecStart=/sbin/zsysctl boot commit (code=exited, status=0/SUCCESS)
   Main PID: 3249 (code=exited, status=0/SUCCESS)

avril 30 08:39:17 casanier systemd[1]: Starting Mark current ZSYS boot as successful...
avril 30 08:39:18 casanier zsysctl[3249]: INFO Updating GRUB menu
avril 30 08:39:23 casanier systemd[1]: Finished Mark current ZSYS boot as successful.
Editable grub menu
We know advanced users like to press “e” to edit grub menu or tweak their settings on some boot at their convenience.
We took great care so that it’s easily editable by them: our functions have a set of argument with readable names.
Pressing “e” when entering a history state line:

Then, on each revert entry, you can edit it as well and replace the variable if you prefer directly editing them here:

The use of functions with readable names should be of help for this audience. In addition to this, we didn’t use that function for normal boots or advanced options to not confuse them who will have entries without any variables.
As a reminder, those are the changes which allowed us to reduce grub.cfg from 7329 lines for 100 state saves that grub didn’t really like to 728, each new history entry being 3 additional lines instead of 50, and reducing from 80s to load the history entry to being instantaneous!
This was quite dense! We hope we made it easy from a pure user perspective. In the next article, we will detail how and when states are saved, how to manage them and more neaty cripsy details about ZSys states! See you there :)
Meanwhile, join the discussion via the dedicated Ubuntu discourse thread.