ZFS focus on Ubuntu 20.04 LTS: ZSys partition layout
We have covered ZSys quite extensively over the past blog posts, from what’s new to its functionalities in details.
It’s now time to look at the other part of the system: what happens when you install your system? Which partition layout and why are we choosing this one? What ZFS datasets are created and how do we lay them out? We will answer to all those questions from this part of the blog post series. Let’s start right away with the partitioning method.
Partition layout
Once you click on this “Install on entire disk” button, we lay out and split your disk in multiple partitions. We don’t limit the ZSys supported layout to it (technically, you don’t even need a separated bpool partition even), however we try to setup some best practices to be as flexible and compatible as possible.
4 partitions to rule them all
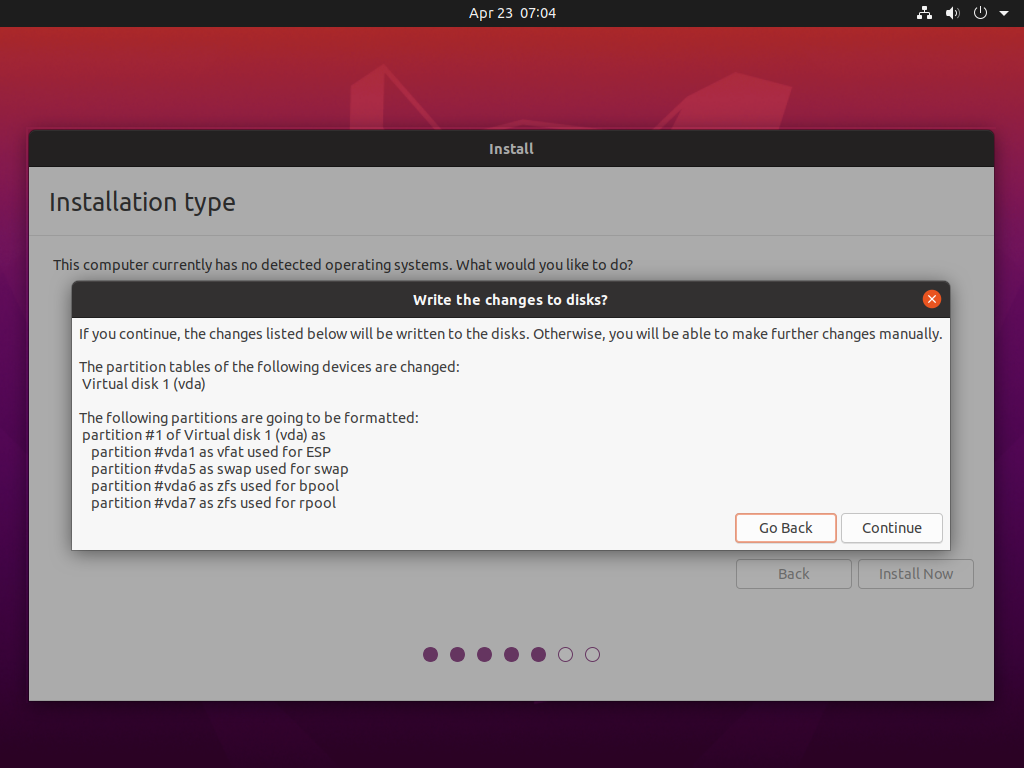
After selecting entire disk, our default choice will always creates 4 partitions:
$ sudo gdisk -l /dev/nvme0n1
GPT fdisk (gdisk) version 1.0.5
[…]
Number  Start (sector)    End (sector)  Size       Code  Name
   1            2048         1050623   512.0 MiB   EF00  EFI System Partition
   2         1050624         5244927   2.0 GiB     8200
   3         5244928         9439231   2.0 GiB     BE00
   4         9439232      1875384974   889.8 GiB   BF00
- The first partition is an EFI partition (the ESP), even if you are not on an EFI system. The new ubuntu 20.04 LTS default is to always create an ESP, as some users were booting in legacy mode before flipping the switch to EFI, which was then requiring this partition, and thus, a full reinstallation. We are also using this fixed space to store GRUB (the bootloader).
- The second partition is a SWAP partition. The size depends on how much RAM you have with a maximum limit of 2.0 GiB, as per our default ubiquity installer rules.
- The third partition is the
bpool(boot ZFS pool), which will hold all kernels and initramfs: it’s basically the/bootcontent (except/boot/gruband/boot/efi). - The last partition is the
rpool(main ZFS pool) where most of the system and your user data will be.
Putting that all in order, we have:
- some ZFS datasets in
rpoolis mounted on/and children. - some ZFS datasets in
bpoolis mounted on/boot. /boot/efiis mounted via an entry in/etc/fstab:UUID=FB71-BC92 /boot/efi vfat umask=0022,fmask=0022,dmask=0022 0 1/boot/grubis a bindmount from the GRUB subdirectory in the ESP partition:/boot/efi/grub /boot/grub none defaults,bind 0 0- the swap partition is referenced in the fstab as well:
UUID=1d26553d-da2c-4b3c-8bc9-f817e29672e9 none swap discard 0 0
I’m sure you have some questions about this partition layout, let’s try to answer them right away!
Why do we have a separate bpool?
We want to enable as many useful features on your ZFS system as possible. However, some of those features are incompatible with GRUB, or limit what GRUB can do with it. For instance, some will prevent GRUB to completely read your ZFS partition (which, you will admit, is an issue to boot from it ;)). Some others will allow GRUB to read filesystem datasets, but not snapshots, which means that you won’t be able to revert from most of system states (most of them, but not all, being snapshots-based).
This is why we separated bpool from rpool: the first one has fewer features enabled.
However, zpool command line users were encouraged then to upgrade the pool to enable new features on it, those being incompatible with GRUB! Worse, once the pool was upgraded, it was impossible to downgrade and your system was basically broken. Seeing this happening and until there is a dedicated version-by-components (discussions started upstream), we removed this message on bpool from zpool status and prevented to upgrade it with zpool upgrade. rpool doesn’t have this limitation and have a bunch of features enabled.
The size of bpool is computed based on the rpool size with a limit of 2.0 GiB. This should be approximately enough space for 25 kernels with initramfs, which is more than kernel lifecycle for 2 released ubuntu version. For people using the development version which has a way greater kernel release cadence, this might be a little bit too smal (remember that we save kernel version on system state saves) and may need some refinement in the future. One way would also to make the state garbage collector more aggressive when reaching the limit.
Why using a separate swap partition?
Ubuntu is generally using a swap file to allow maximum flexibility in term of swap size. However, this doesn’t work really well with ZFS systems. ZFS offers using a ZVOL as a swap device which will deliver the same advantages over fix-sized limit. We tried enabling it during the ubuntu eoan development cycle (before 19.10 was released). However, we quickly hit up this deadlock and got multiple people reporting it. There is no clear fix or workaround right now. Some recent hackaton work seems really promising but is not there yet. We thus had to give up for now on the idea and meanwhile, create a dedicated SWAP partition.
Why GRUB isn’t on rpool?
GRUB is the bootloader global to your machine: it means that you can have multiple OS installed in parallel, ruled by the same and unique GRUB instance. Thus, GRUB should be installed on a fixed partition: There is no need to version its content (save its state), boot from an older GRUB menu or flip-flap between multiple, parallel GRUB instances installed on your system in case of multiple machines. Another issue is when doing a revert, which will thus creates a new clone filesystem dataset with the updated GRUB here, the machine would still pointing on the older GRUB filesystem dataset (no install-grub call and pointing to the stalled old GRUB place) it was installed to!
Experimenting with multiple GRUB installations in parallel and trying revert scenarios, I can testify that this is just a headache: “Oh, I reverted my machine A, but machine B rpool is still the installed bootloader, and thus, not listing this additional entry” or “Why this doesn’t reference latest entry there”… So the safest and more predictable solution was to install GRUB on a small (grub itself is 8 MiB) regular partition, and… good news, we have one, the ESP partition!
This is why we decided to put it in the ESP space. We had to fix some issues due to it being VFAT formatted, but as most recent systems ships one by default, this was a no-brainer that this was the place we should install GRUB to, hence the bindmount.
Mount order
So, we have /boot, /boot/grub, /boot/efi (amongst others) to mount. ZFS had a race in their systemd unit that we fixed last cycle (especially when mixing datasets from multiple pools). However, /boot/grub and /boot/efi are now in fstab, and systemd fstab generator is generating .mount units to mount them over /boot before ZFS mount service (zfs-mount.service) have a chance to mount the separated bpool over /boot.
You thus normally ends up with /boot/grub, /boot/efi and nothing else: as /boot is not empty, ZFS won’t mount bpool over /boot and your kernels/initramfs finishes being installed on rpool, GRUB content is messed up and so on.
This is why we have enabled the new ZFS mount generator, as explained in the previous article, which generates any needed .mount units for systemd to mount everything in order.
$ ls /run/systemd/generator/*.mount
 /run/systemd/generator/boot-efi.mount
 /run/systemd/generator/boot-grub.mount
 /run/systemd/generator/boot.mount
 /run/systemd/generator/home-didrocks.mount
 /run/systemd/generator/root.mount
 /run/systemd/generator/srv.mount
 /run/systemd/generator/usr-local.mount
 /run/systemd/generator/var-games.mount
 /run/systemd/generator/var-lib-AccountsService.mount
 /run/systemd/generator/var-lib-apt.mount
 /run/systemd/generator/var-lib-dpkg.mount
 /run/systemd/generator/var-lib.mount
 /run/systemd/generator/var-lib-NetworkManager.mount
 /run/systemd/generator/var-log.mount
 /run/systemd/generator/var-mail.mount
 /run/systemd/generator/var-snap.mount
 /run/systemd/generator/var-spool.mount
 /run/systemd/generator/var-www.mount
All of them but boot-efi.mount and boot-grub.mount, which are coming from systemd fstab generator are created by it. which fixes the mount ordering.
You will have more .mount units if you create manually other datasets, or if you have additional manually imported and created pools.
There are some issues, like a generator failing won’t stop the boot (hence our patch to drop to emergency target), or if a mount unit fails, systemd won’t stop either. I’m sure we will have some refinements there that we can upstreamed in future releases.
Tweaking partition layout
As told in the introduction, nothing is hardcoded in term of ZSys support for your partition layout (as long as you don’t have multiple pools with the same name, of course).
If you want to tweak the partition layout to your wish. For instance, to use multiple pools in mirrors, or using RAID-Z, you can for now (until we support manual partition layout in the installer) edit manually the zsys-setup script on the live ubuntu 20.04 LTS desktop image before reaching the partitioning page. This one is located at /usr/share/ubiquity/zsys-setup.
I think you saw that there has been a lot of thoughts and care in our default partition layout, so edit with care. :)
Final note
This should shed some lights on the various partitioning decisions we took for our ZFS on root setup and that should all make sense now to you. As told, you can tweak it slightly, but please ensure that most of the principles above are still in place or you will have weird and unexpected behavior. We will offer in the future manual and more flexible partitioning method, including RAID-Z, mirroring and more… If you want this coming to life more quickly, this is a great opportunity for contributions!
This being clarified, it’s now time to look at how we organize our ZFS datasets. What are exactly created on those bpool and rpool ZFS pools and why do we have this dataset layout? So many questions, one place to read it! See you there :)
Meanwhile, join the discussion via the dedicated Ubuntu discourse thread.